To be able to conduct experiments or to build stuff, we need tools and (measuring) equipment. In various categories, I will describe what I use and what I would like to expand with.
Control and skills
One of the skills that is helpful in the area of Control is electronics. One does not have to be a full fledged electronics technician, but being able to solder components together in a meaningful way and to test them is a skill that will help a lot when it comes to connect devices to and controlling them from a computer.
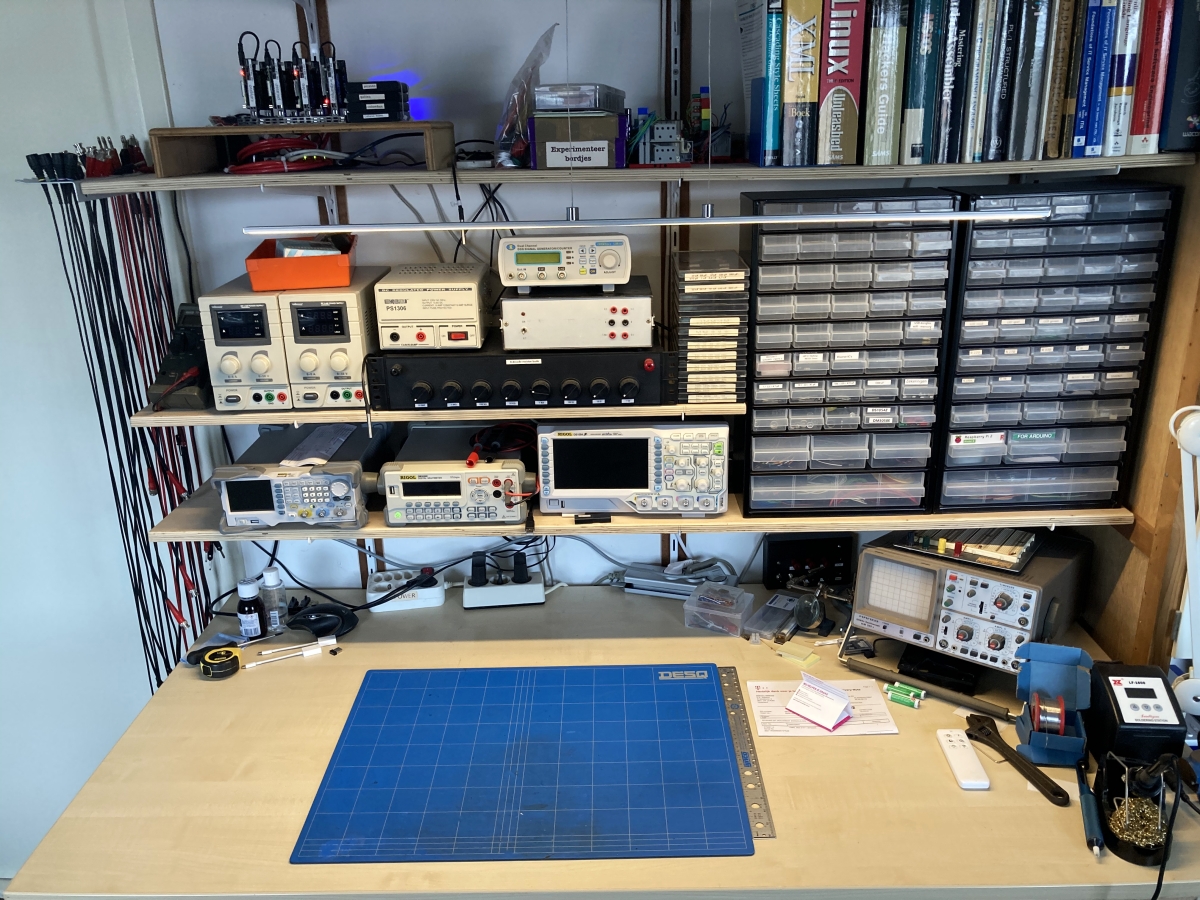
And we need equipment to do that. The tools I use in my workshop are shown on this page.
Soldering station
My old soldering station
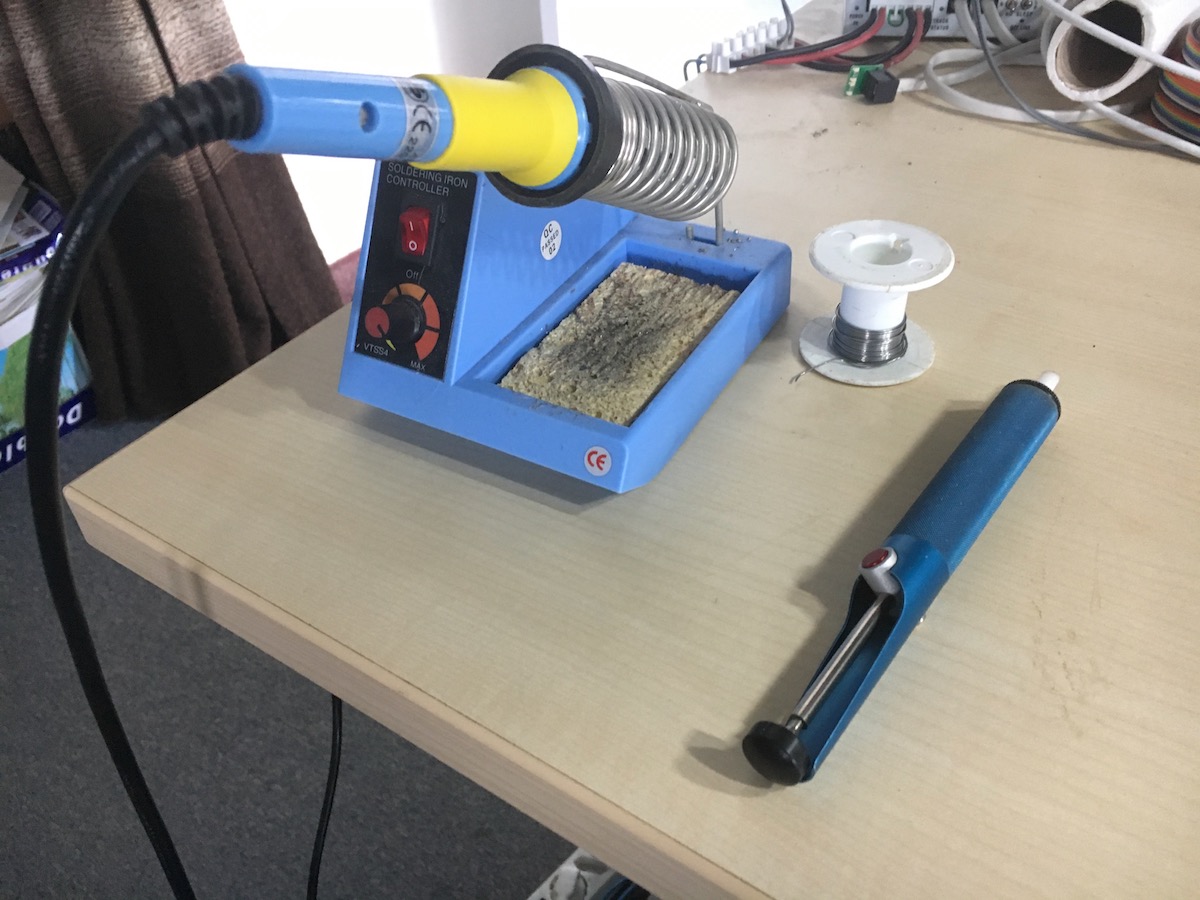
Being able to put things together – i.e. on PCB’s (Printed Circuit Boards) – is one of the first things for the electronics DIY hobby. To be able to do that I have my trusty soldering station. It’s ability to control the temperature comes in very handy at times. The sponge (no, it’s not Bob), when kept moist, is a neat addition to clean the soldering tip every now and again. The solder I use has a little bit of soldering flux mixed into it. The long blueish contraption is a de-soldering pump.
The (blue) soldering iron on the right is my old one. It gave up on me after decades of loyal duty.
New soldering station
My new soldering station
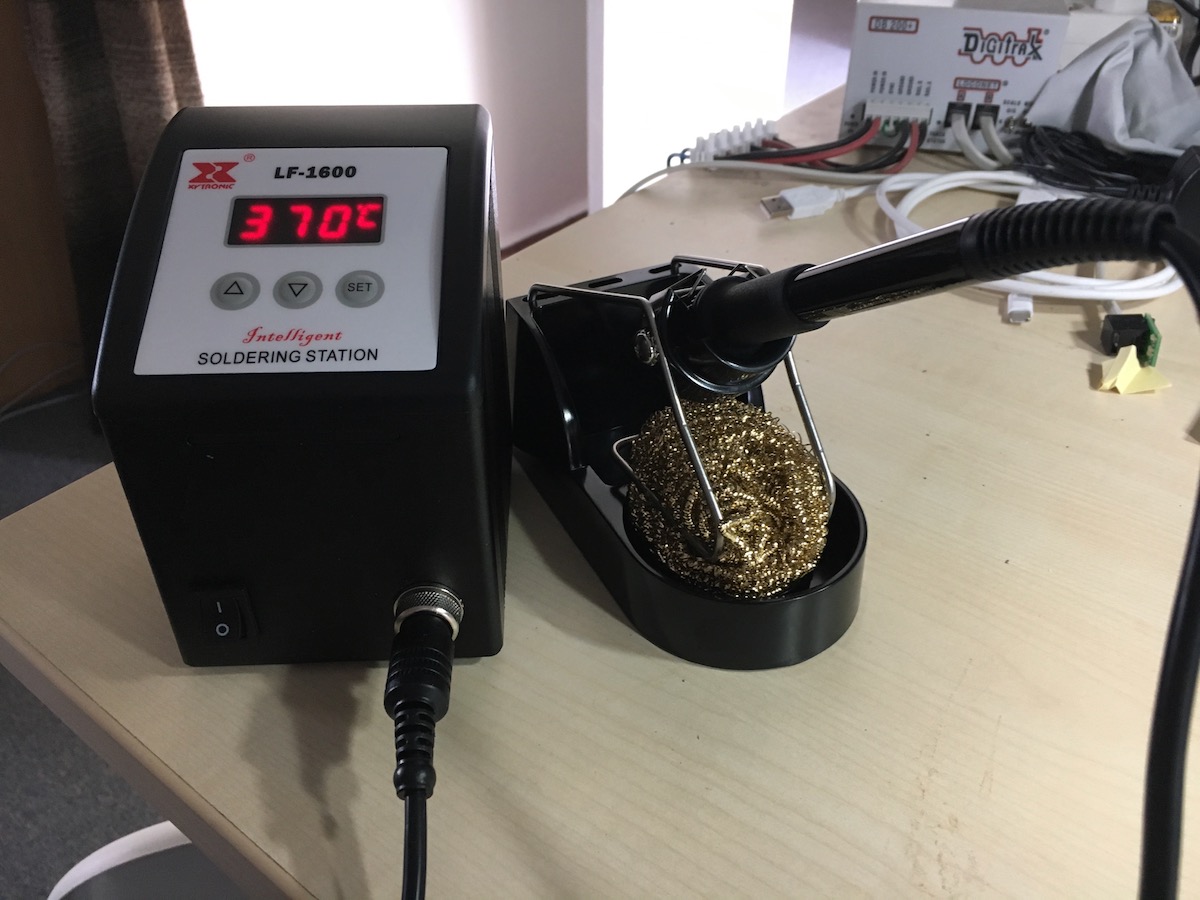
This gave me the opportunity to get a better one. I decided to go for a temperature controlled one this time and selected the Xytronic LF-1600, distributed by Velleman as the VTSSC70 in the Netherlands. It warms up very quickly – within 20 seconds it’s at working temperature, whereas the old one gave me ample opportunity to grab some coffee when it was warming up… It’s EDS save as well (can be connected to a grounding system to prevent Electro Static Discharges).
Multi meter
A multi meter – as the name states – can measure multiple things. In our field that amounts to Volts, Amperes and Ohms; units of electric potential, current and resistance.
Simple multi meter – Handykit MK 100
Simple multi meter
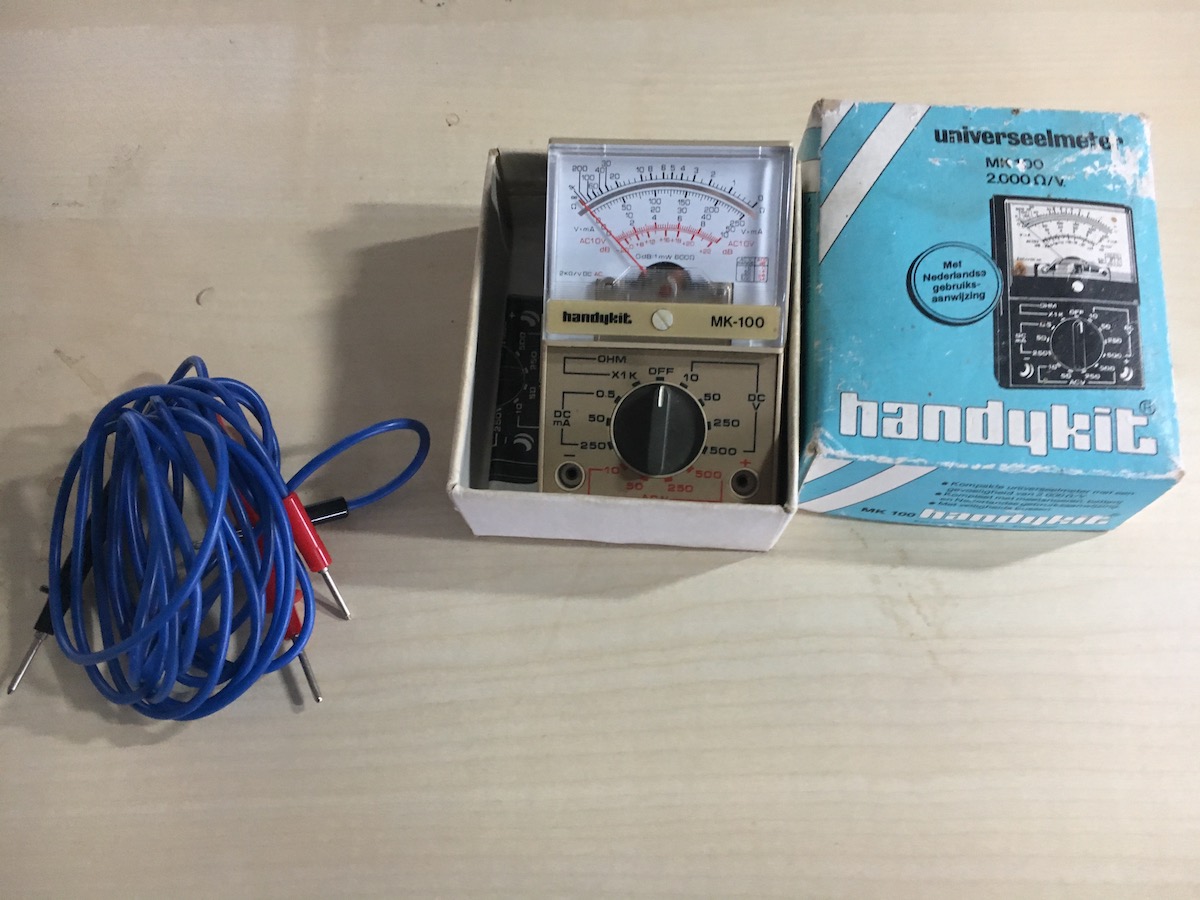
Most people start of with a relatively simple (and cheap) multimeter. This simple multi meter on the right was my first one, it is enough in most cases, it can measure DC from 0 to 500 Volts, AC from 0 to 500 Volts. DC current from 0,5 to 250 mA. Resistance can be measured from 0 to 1 Mega Ohm.
The precision is not overwhelming, but is will do for simple electrical projects.
More complex multi meter – Fluke 73
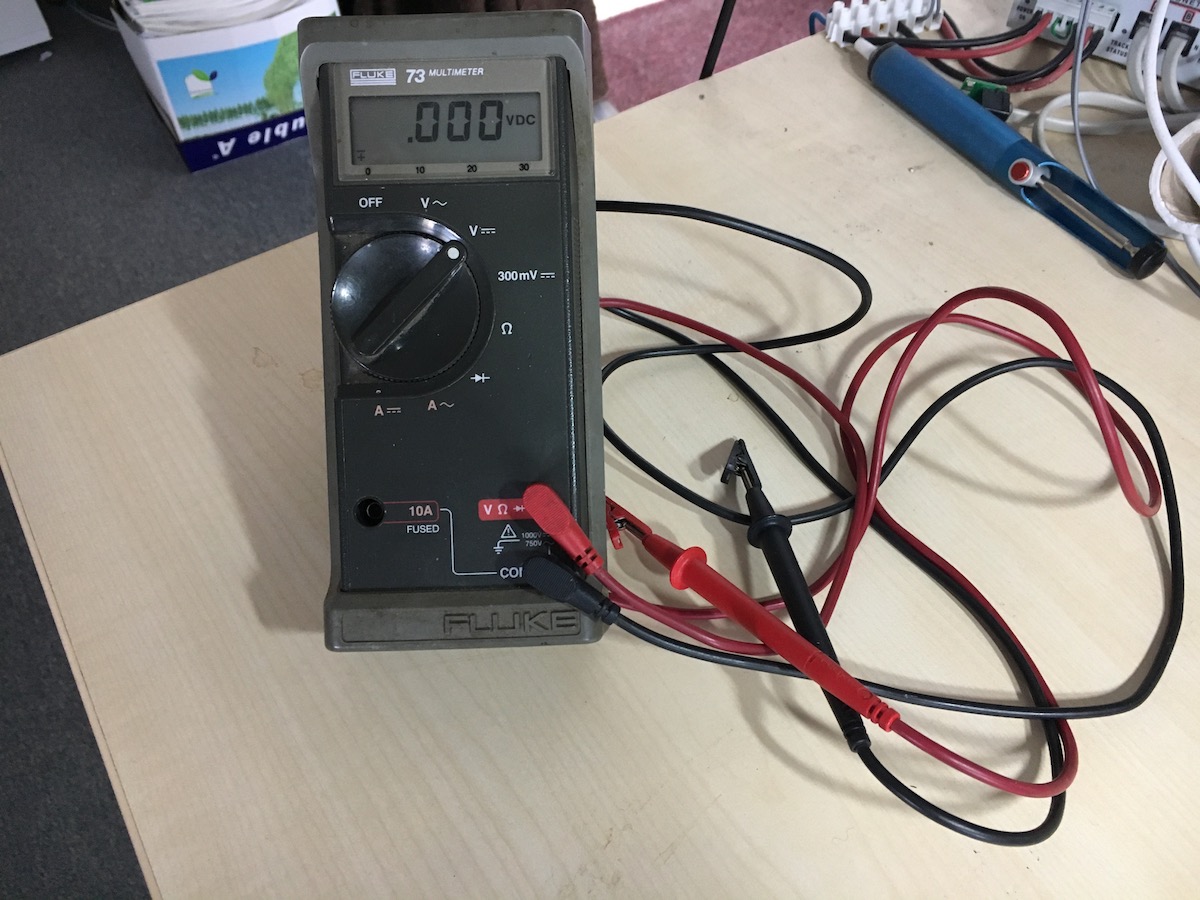
More complex multi meter
More precision is found in more professional meters. This here is my heavy duty multi meter, a Fluke 73. It can measure up to 10 Ampere and up to 600 Volts Ac and DC and resistance up until 32 Mega Ohm. It is well protected, It can withstand being connected to 220Volts while in resistance measuring mode (I tried, no smoke and it still works!).
This has been my work horse multimeter for almost four decades now.
Precision bench multi meter – RIGOL DM3058E
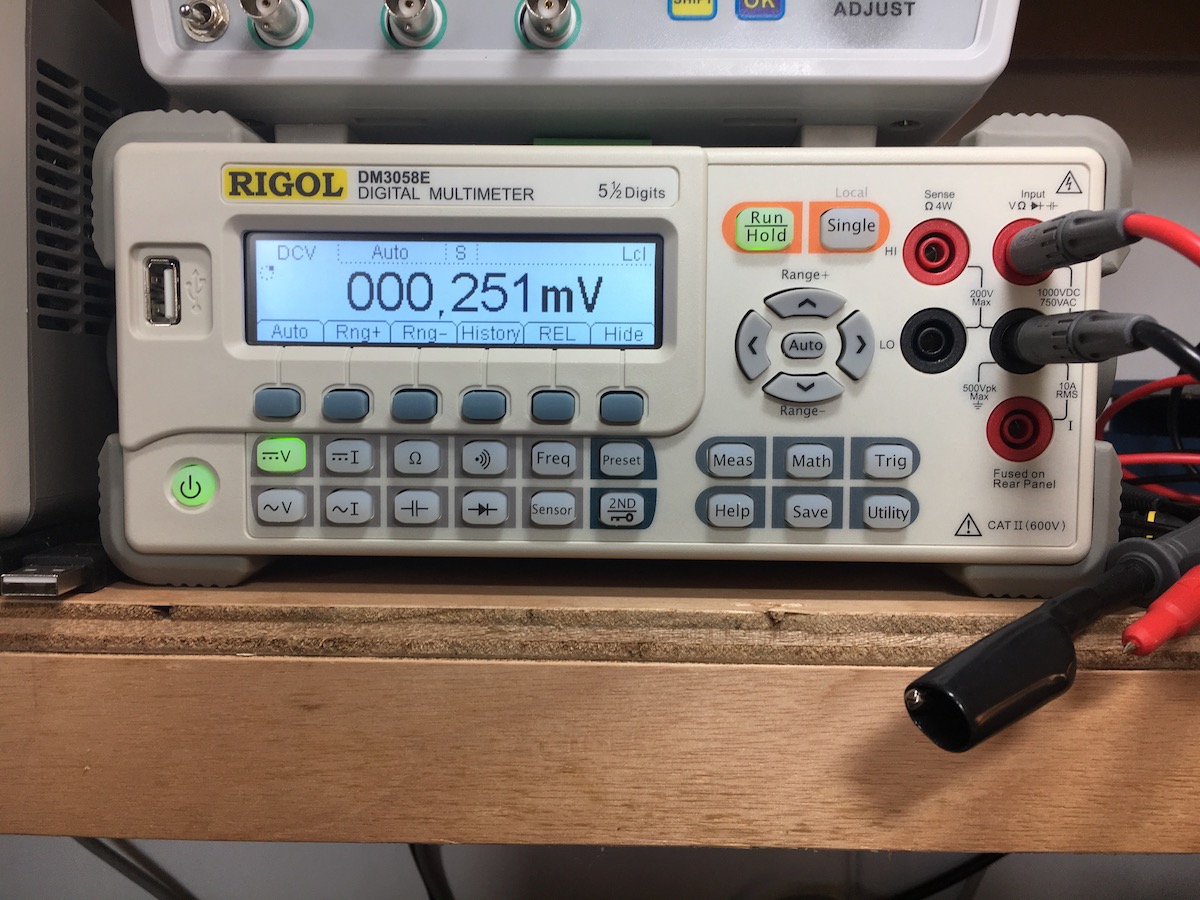
My RIGOL DM3058E bench multimeter
My newest multimeter even has more precision and possibilities. It is the RIGOL DM3058E 5 ½ digit bench multimeter. It comes with a Power cord, a USB cable, two test leads, two alligator clips, several backup fuses and a quick guide. It has an adjustable handle, making it possible to put it on your desk or bench at an angle towards you; but you can also fold the handle back under the meter and put it on a shelf at eye’s hight as I did. It can measure AC and DC voltage and current, resistance (two or four wire measurements), capacitance, continuity (with a beep – very convenient), diodes and frequency/period. It can also be used to connect several sensors.
One can also connect the instrument through USB or RS232 to do automated measurements.
Also see the blog about the unboxing.
Power supplies
To experiment with electronics one often needs to be able to have different voltages available. You can use these little power supplies / charger block that come with all kinds of equipment, but that can be a drag, because the often supply only one voltage each. That’s why investing in some good laboratory power supplies (PSU’s or Power Supply Units) can pay of.
My Power Supply Units

PSU supplying 5.00 Volts
Sometimes you need more than one voltage. So these are my two LAB Power Supplies: the Velleman LABS3005. They can each supply 0-30 Volts (adjustable) and 0-5 Amp’s (also adjustable) power, with a ripple voltage of 2mV and a ripple current of 3mA. They can be adjusted to a precision of one hundredths of a Volt and one thousandth Ampere.
Oscilloscope
An oscilloscope is a machine that can make images of electrical potential or potential variations (wave forms). This can be a great help in debugging circuits.
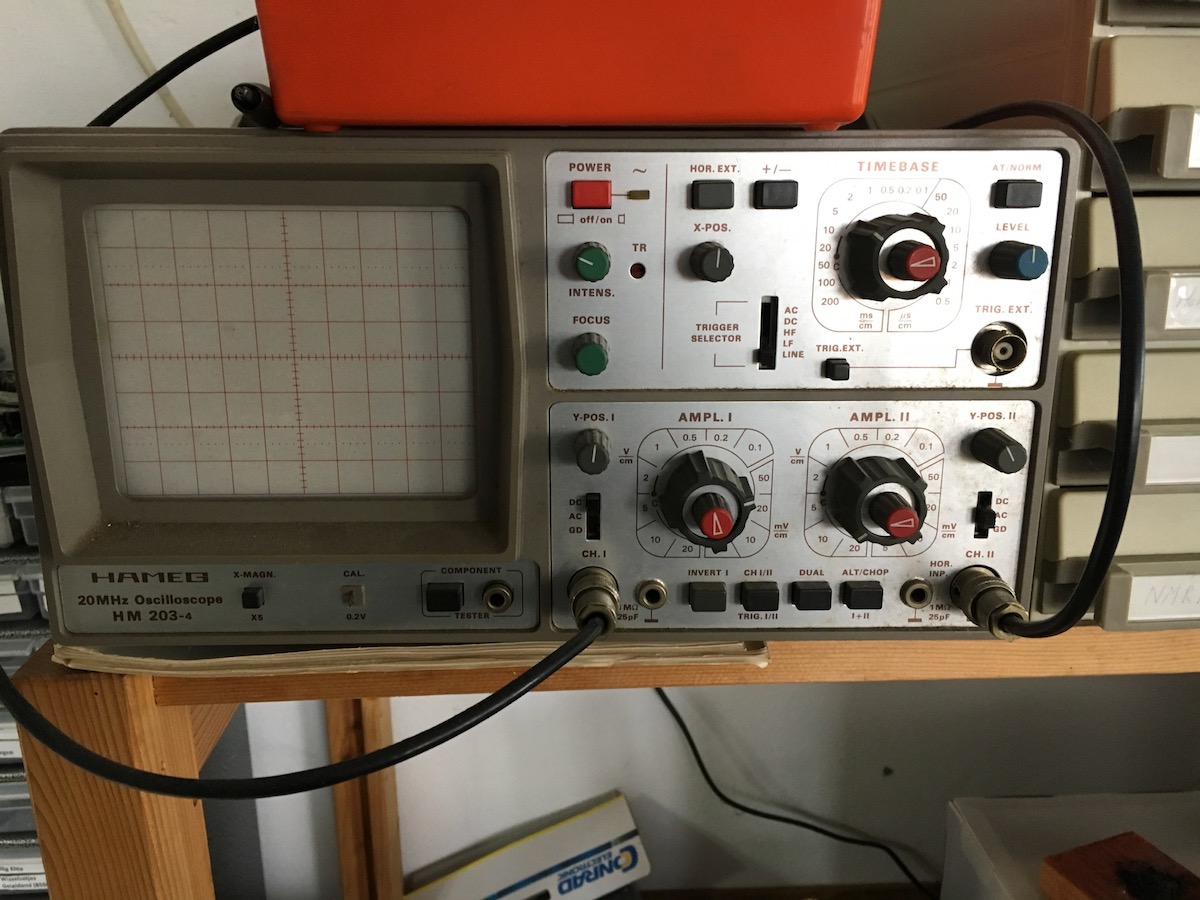
Old oscilloscope – HAMEG 203-4
This is an old one (belonged to my dad and it still works; I do not use it very often, but I can’t put myself to throwing it away… (fond memories).
New oscilloscope – RIGOL DS1054Z
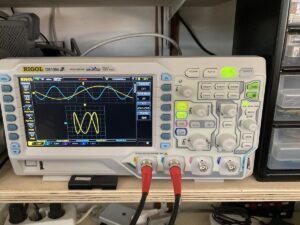
My new scope is a digital RIGOL DS1054Z that I upgraded to a DS1104Z
In the picture on the right, it is showing a figure of Lyssajous, generated by applying two frequencies (in this case 1 KHz and 3.00005Kz) on the two different axes of the scope.
This scope can be connected through a USB or LAN cable to do automated measurements, also we can use a USB drive to store the image we see.
Function (wave) generator
A wave (or function) generator is a very handy contraption that allows us to generate signals. We can use it for generating a test clock pulse, for generating frequencies in sine form to measure distortions in an amplifier, etc, etc.
Digital 25MHz DDS Dual-channel Signal Generator

My MHS 5200A digital function generator
My first wave generator is a digital one and it can (theoretically) be operated from a computer over USB. It features two independent channels, each of which can generate several wave forms:
- Sine wave
- Square wave
- Triangle wave
- Sawtooth wave
- Inverse sawtooth wave
RIGOL DG1022Z Arbitrary Waveform Generator
 My new waveform generator is a more sophisticated one and it can create arbitrary user defined waveforms, perform sweeps, etc, etc. It can be operated from a computer over USB or LAN. It features two independent channels, each of which can generate a host of wave forms, see this link to the RIGOL website.
Tools for building
Breadboards
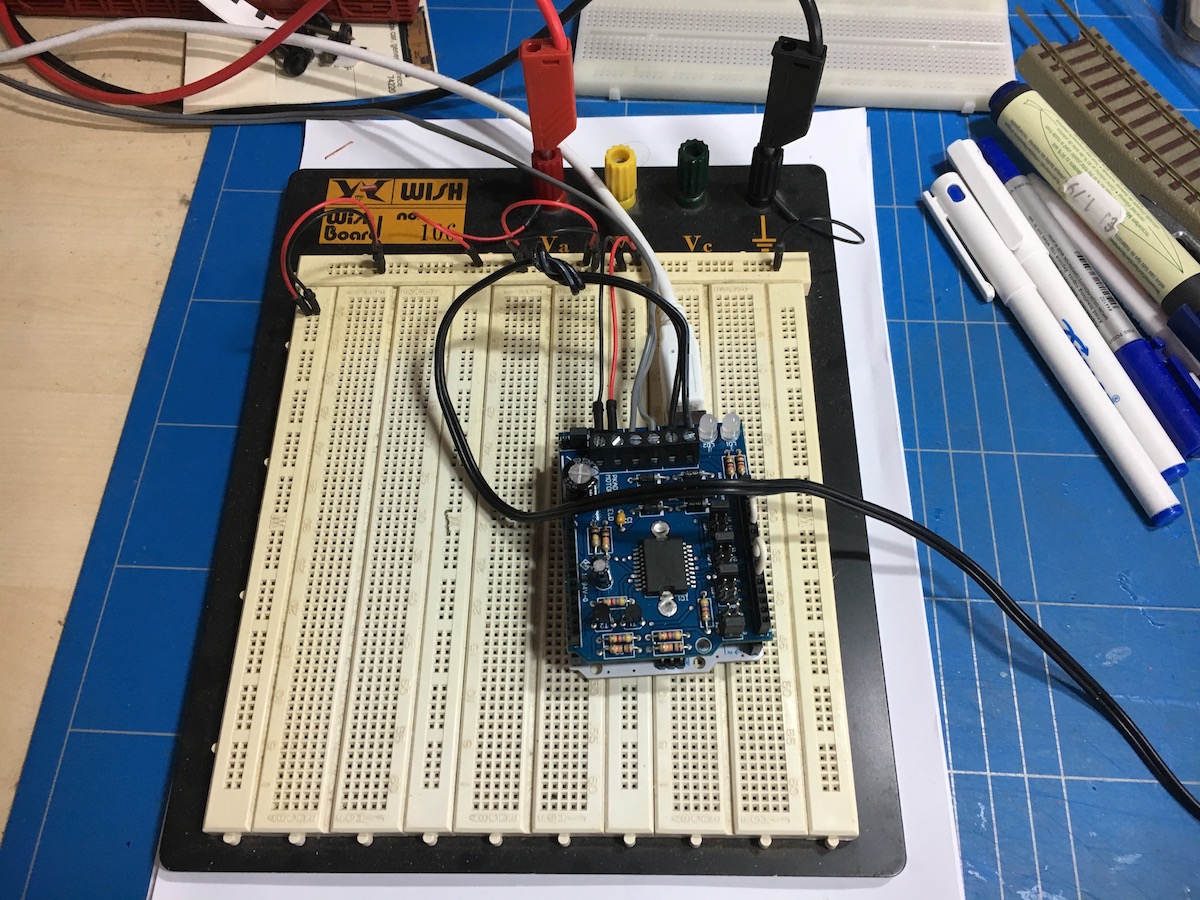
Breadboards
Breadboards are boards on which you can make an electronic circuit and test it without having to solder things together. There are different varieties, in this picture you see one with three rows for mounting IC’s and the components, with integrated connections for power supplies.
Components are linked together by plugging them into the same strip or by jumper wires. Great advantages is that you can switch components easily and test which one fits the purpose best before soldering things.
Little tools
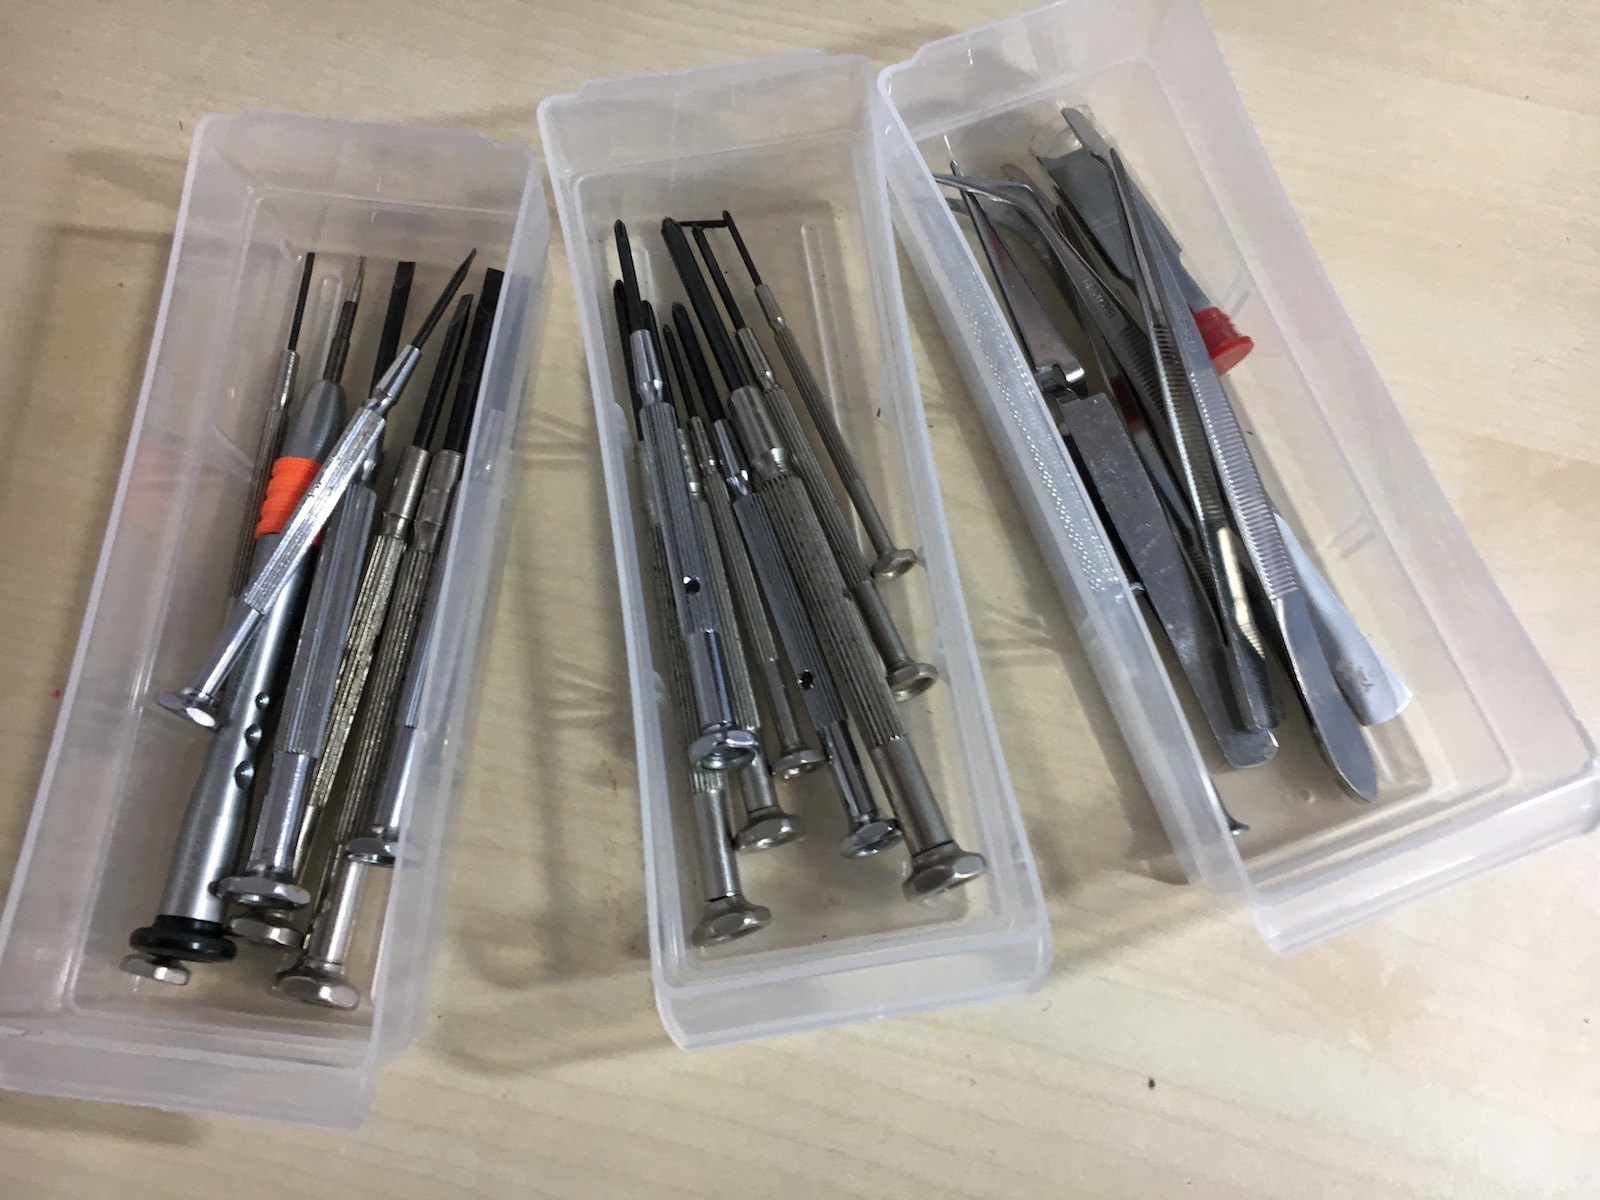
Little tools
Of course you need little tools as well. Flat head screwdrivers, Philips head screwdrivers, various forms of tweezers, etc.
Even the odd specialist screwdriver for opening up proprietary contraptions that are “protected” by the use of five lobed screws… (yes, that’s the orange one on the left).
Third hand
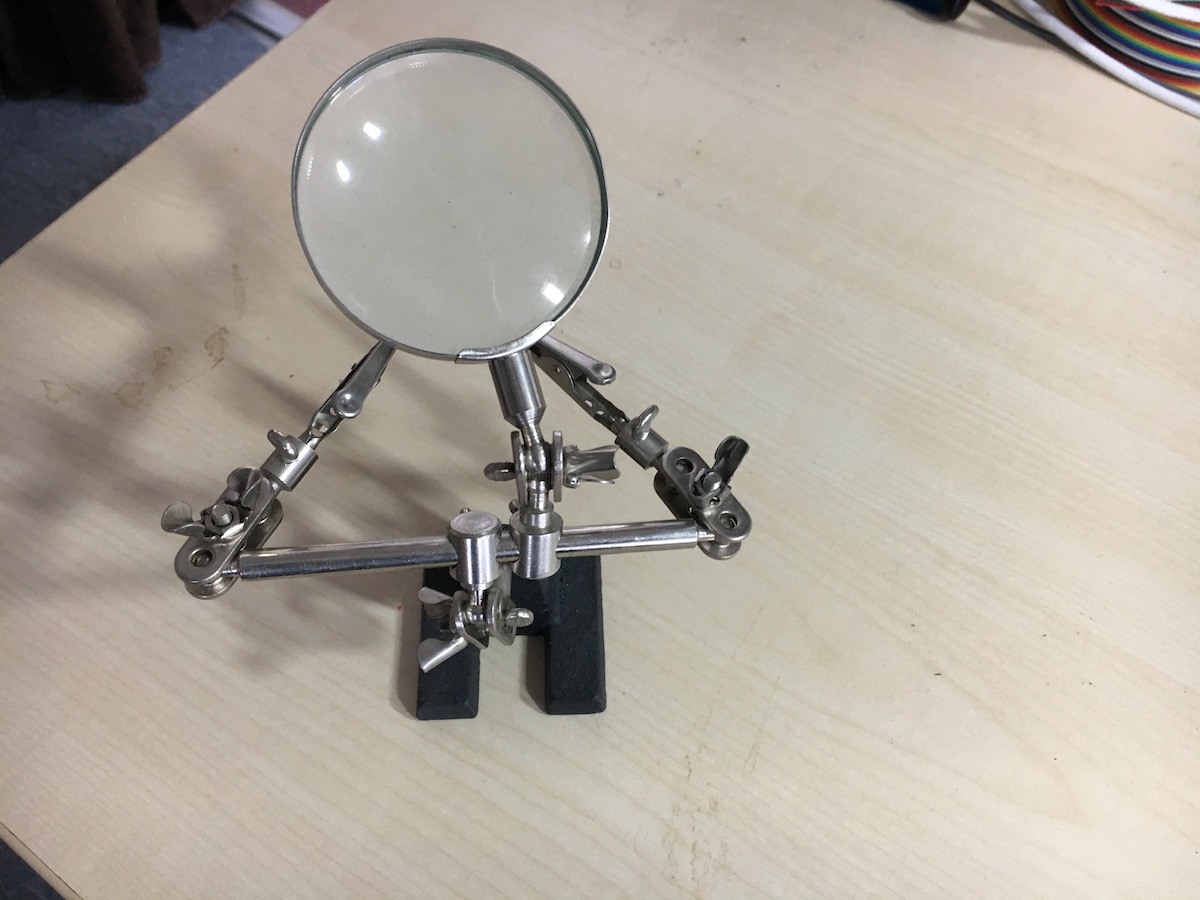
Third hand with magnifying glass
A golden oldie is the third hand to hold thing while you work ons them, in this case one that has a magnifying glass to support my old eyes.
I mean, some of these components are so small, or have such small print on them. It’s just like the they get smaller every couple of years…
Vice
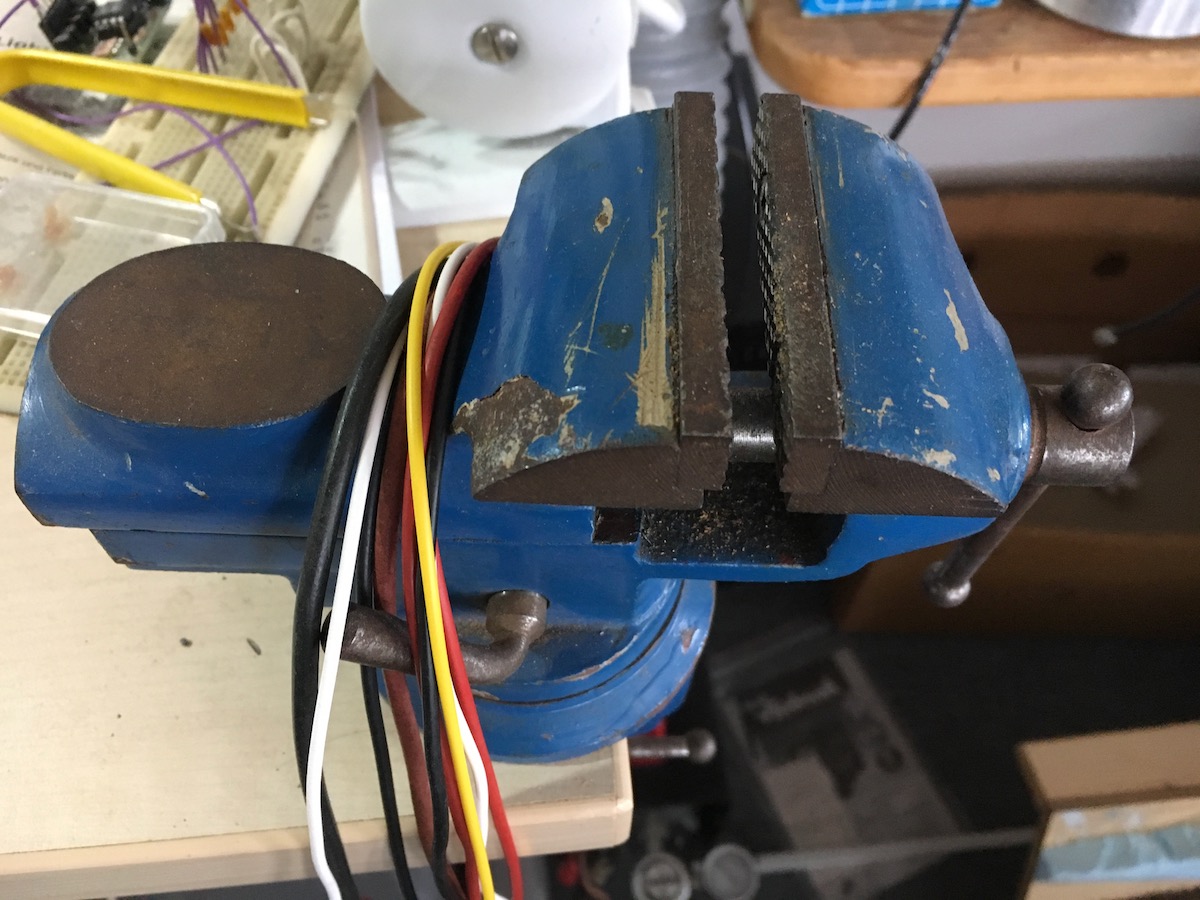
Vice
Sometimes we need to hold some stuff under more force than the little third hand can muster.
In that case I use this desk mountable vice.
It can withstand filing and some light hammering.
Components

Component storage
Last but not least, we need components! Resistors, capacitors, switches, integrated circuits, LED’s, lights, cables, connectors, etc, etc. And of course, with my OCD 😉 I need a neat storage system to be able to find things that I need.