During the holiday season 2017 I decided to realize a long held wish for a project: an elevator controlled by my own programming.
So I built an elevator controlled with my Raspberry Pi. See description and photo’s below.
Stage 1
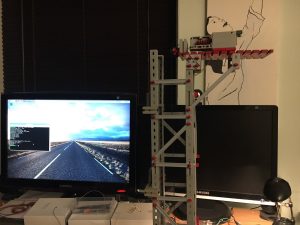
Elevator motor on top of the structure
In this first image, you can see the top of the construction with the elevator motor. I’m building this with Fisher Technik. In the background you can see the Raspberry Pi‘s PIXEL desktop.
The PIXEL desktop is new in the currently latest release of Raspbian Jessie that had been designed to make the Raspberry Pi a computer you can work with on a daily basis.
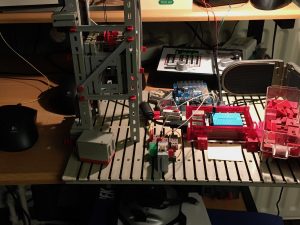
The elevator and switches are connected to the Pi here
At the bottom of the construction we find the controlling electronics. First of all, humbly on the right sits the Raspberry Pi, at this time with it’s Explorer HAT.
A little bit to the left we see kind of a switchboard where all cables will be wired, for the motor and for four switches, one for every floor.
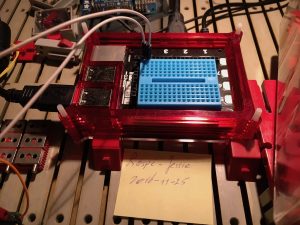
The Raspberry Pi and the Explorer Hat Pro
Finally we take a closer look at the Raspberry Pi that will be controlling the lot using the functions of the Explorer HAT Pro (only the motor is connected so far).
Stage 2
In my previous post I described that I was using the Explorer HAT for the Raspberry Pi and was not entirely satisfied with the way switches were handled. I got all kinds of bounce, sometimes more than twenty reported switches, when I only pressed once… This became a real nuisance. In hindsight this might have been due to programming, but anyway…
Changes
 I switched the Explorer HAT for the DC+Stepper Motor HAT from Adafruit. This switch also made it possible to connect my breadboard, making it a lot easier to reach everything.
I also downloaded the pigpio library (Pi GPIO – General Purpose Input Output) for python on the Raspberry Pi. This is a magnificent piece of work by Joan. It runs as a compiled background process (pipgiod) and services the requests from python (or C or C++ for that matter) to the GPIO system. This setup makes it really fast The pigpio library does give us the opportunity to use interrupt handlers, so our own processing can continue while the GPIO ports are being monitored by the pigpiod background process. When this detects a key-press, it activates our handler to do something with that keypress.
Stage 3
In the third version (February 3, 2017) I introduced a message broker to have the program “elevator_remote.py” communicate with the actual “elevator.py” program that controls the Raspberry Pi and the elevator hardware. I used the Mosquitto (mqtt) library, a fairly simple but sturdy message broker, and the paho.mqtt python library. Have a look at the overhauled code on Github.
Sample session
A sample of a short session of the elevator (description below):
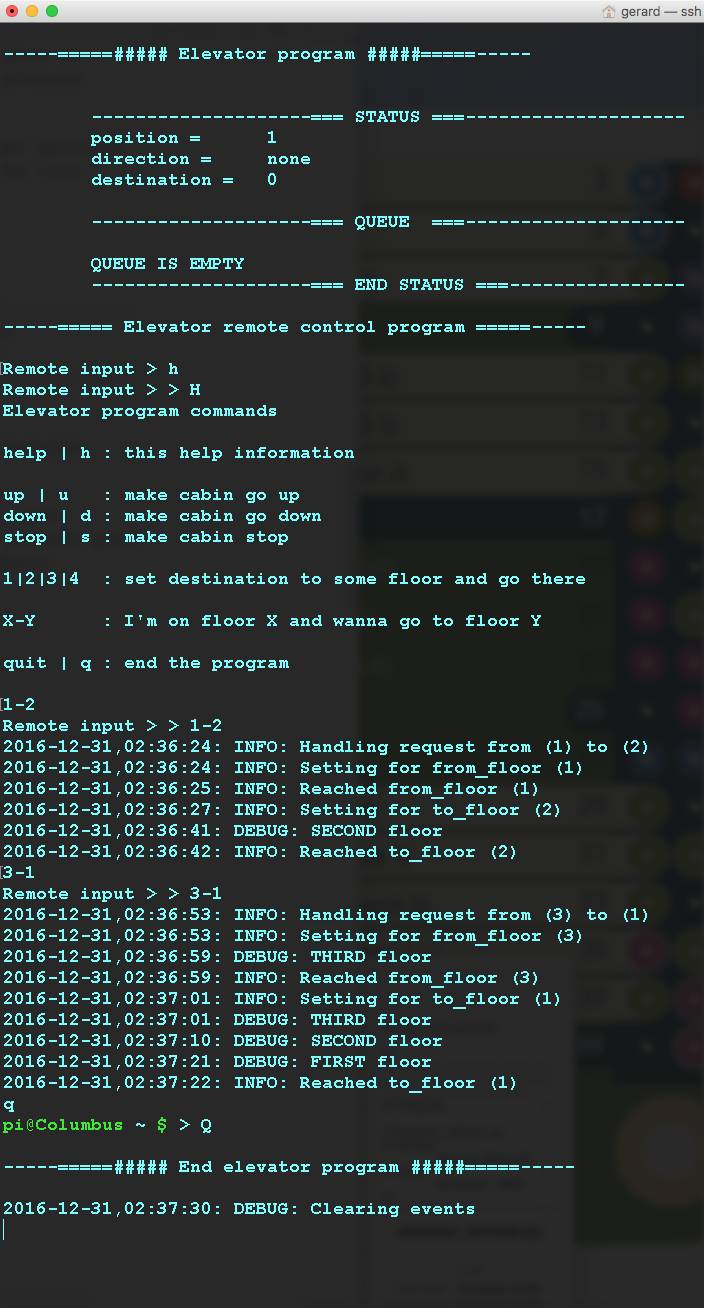
Session description:
As you can see in the help information, an entry of 1-2 means: “I am standing at floor 1 and I want to go to floor 2“. In this session log you can see the cabin going from the first to the second floor. Then another request comes in, 3-1. The cab is at floor two, so the first thing it does is go up to floor three, wait for a short while, and then descends to the first floor as requested. Lots of requests can be entered while the elevator is working – going up or down – and they all will be handled FCFS at this time (First Come First Serve, a well known simple scheduling mechanism).
Construction
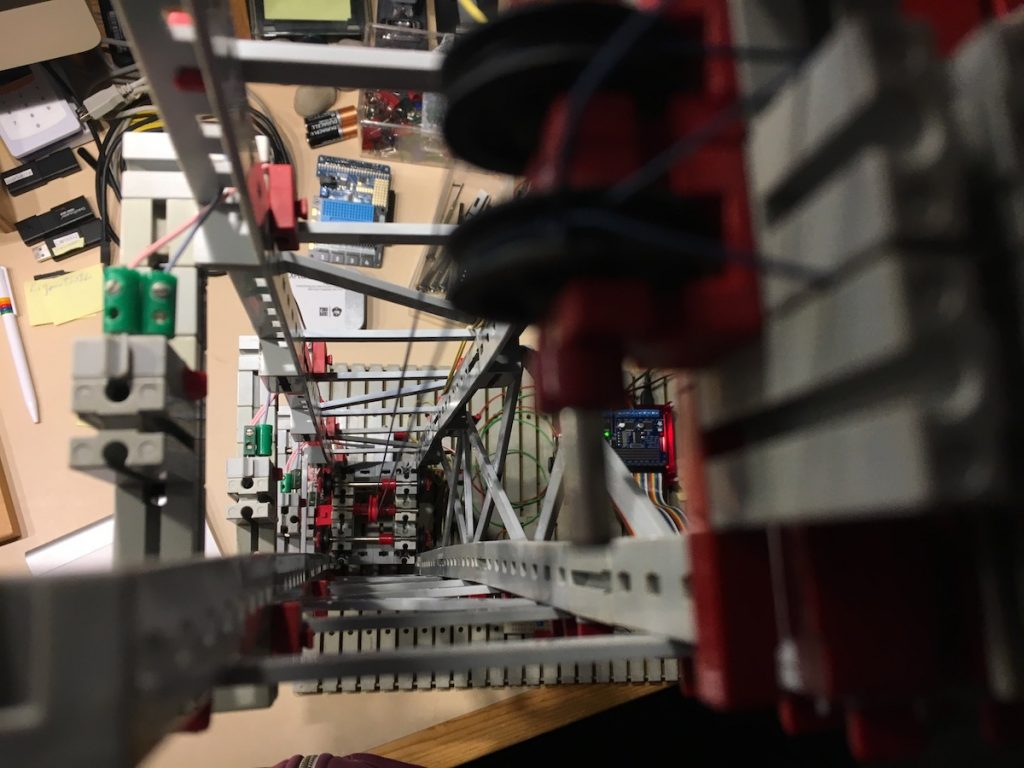
A look down the elevator shaft, focussed on the bottom

A look down the elevator shaft, focussed somewhere in the middle
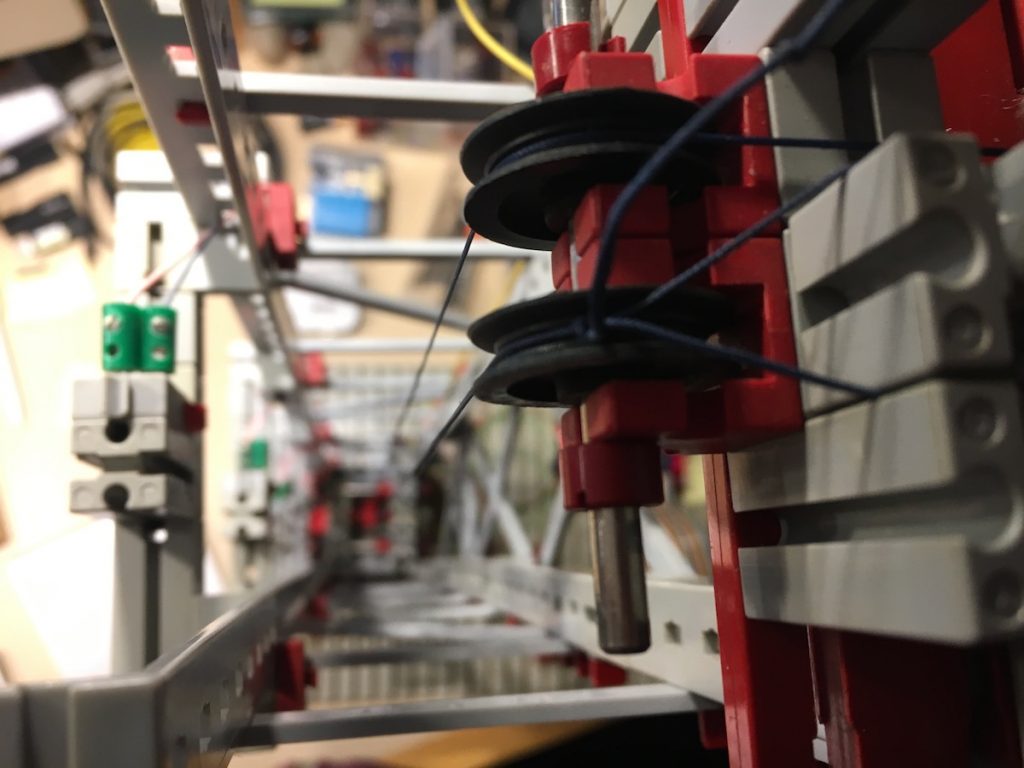
A look down the elevator shaft, focussed on the top and the pull wheels
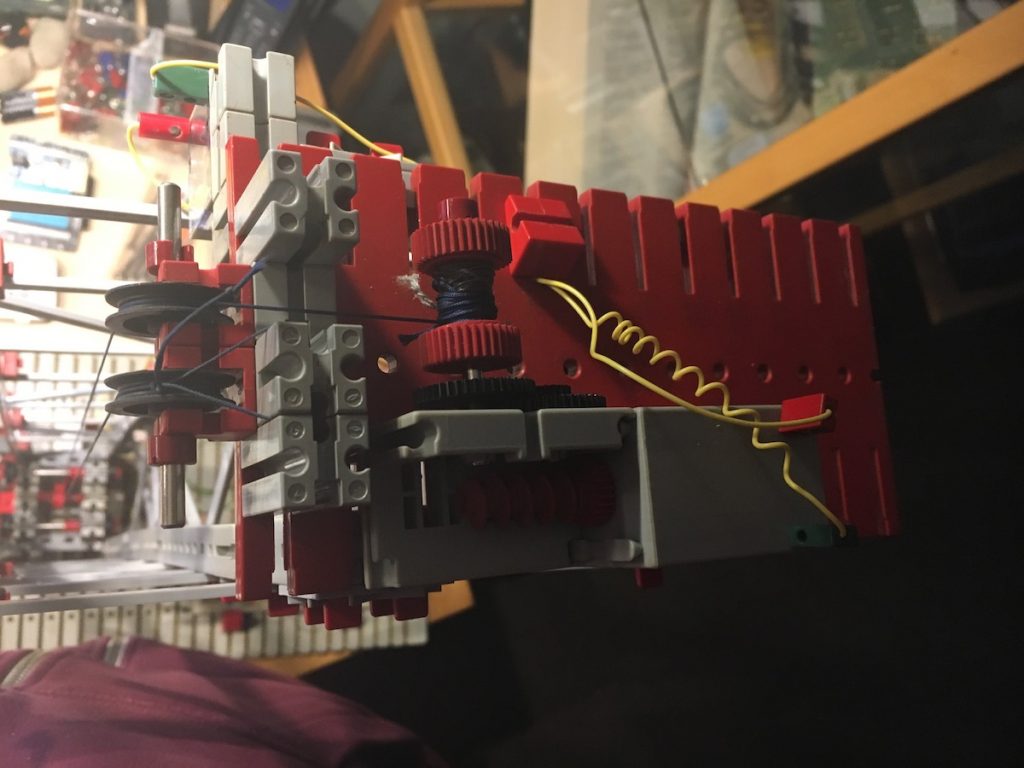
The motor, controlled by the Raspberry Pi that hauls the cabin up and down
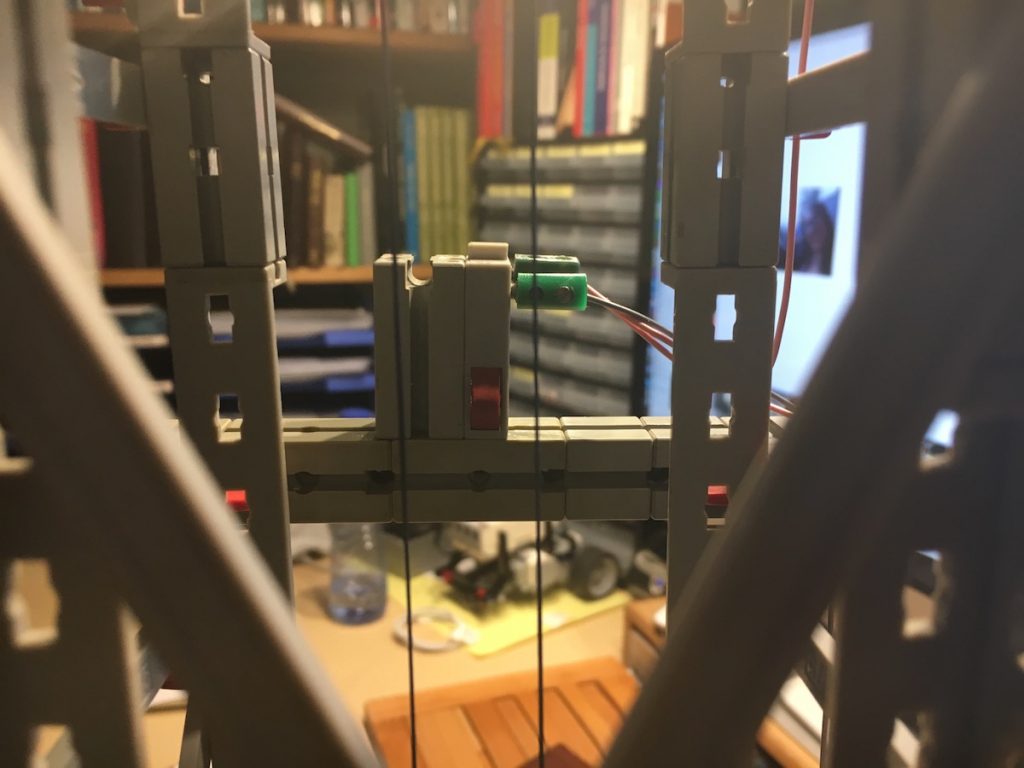
Switch to detect the cabin on the third floor – there’s four of these, obviously…
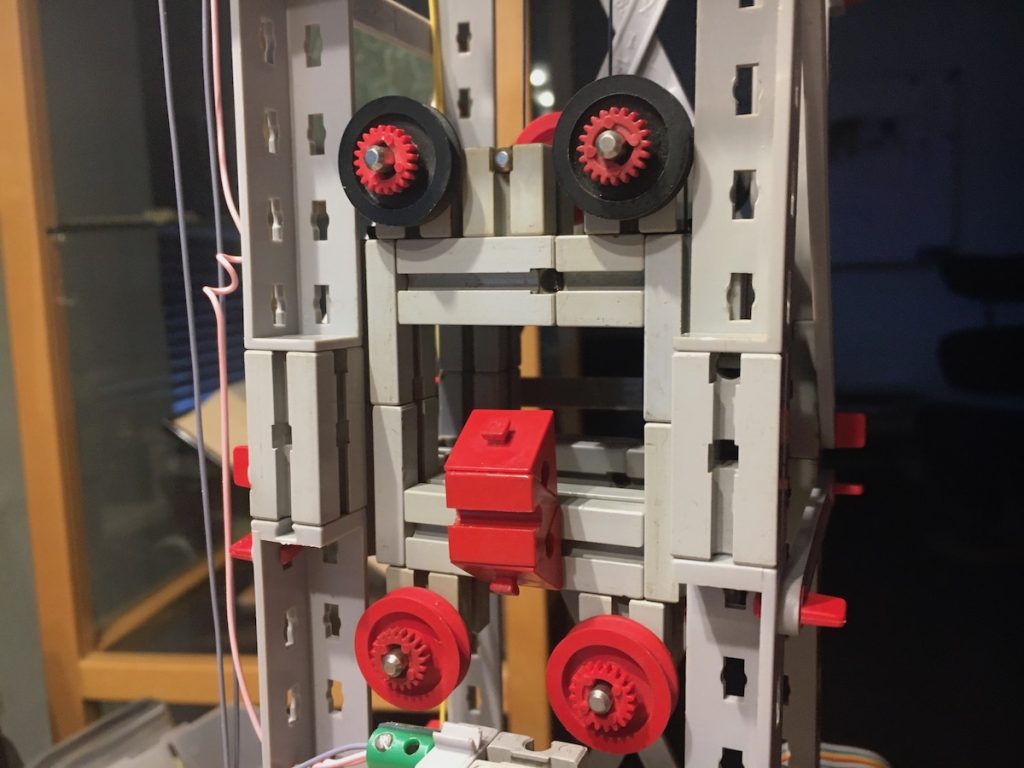
Close-up of the construction of the cabin
Okay, it’s not very life like, but that is not a requirement with models…
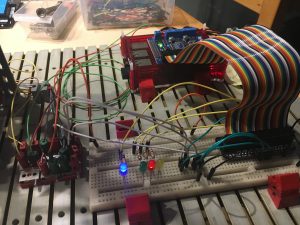
Control, indicator LED’s
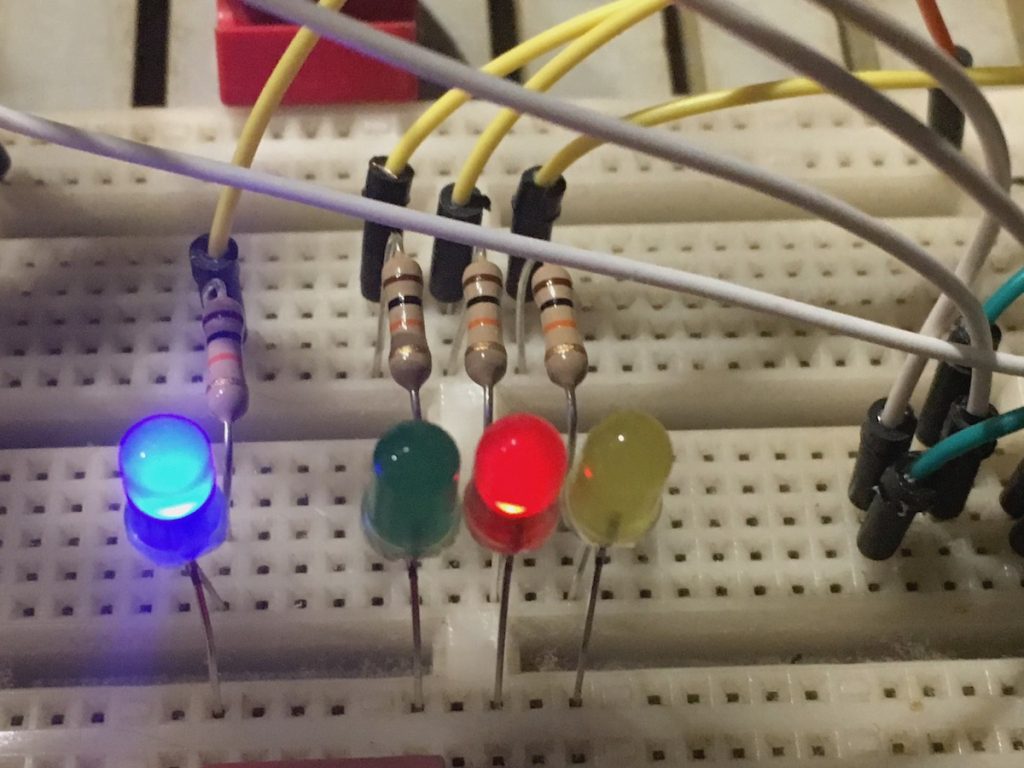
Just switched on, blue LED is the power indicator, the red one indicates that the cabin has stopped moving
First request, cab going up, green LED on
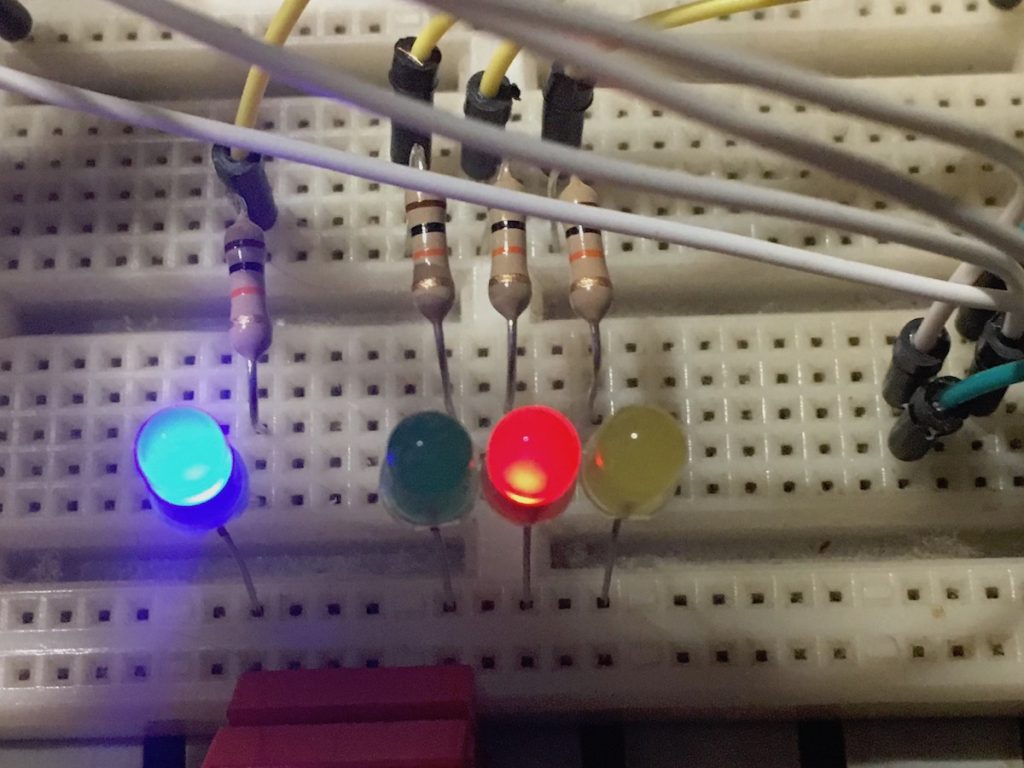
Cab stopped at second floor, red LED indicates full stop
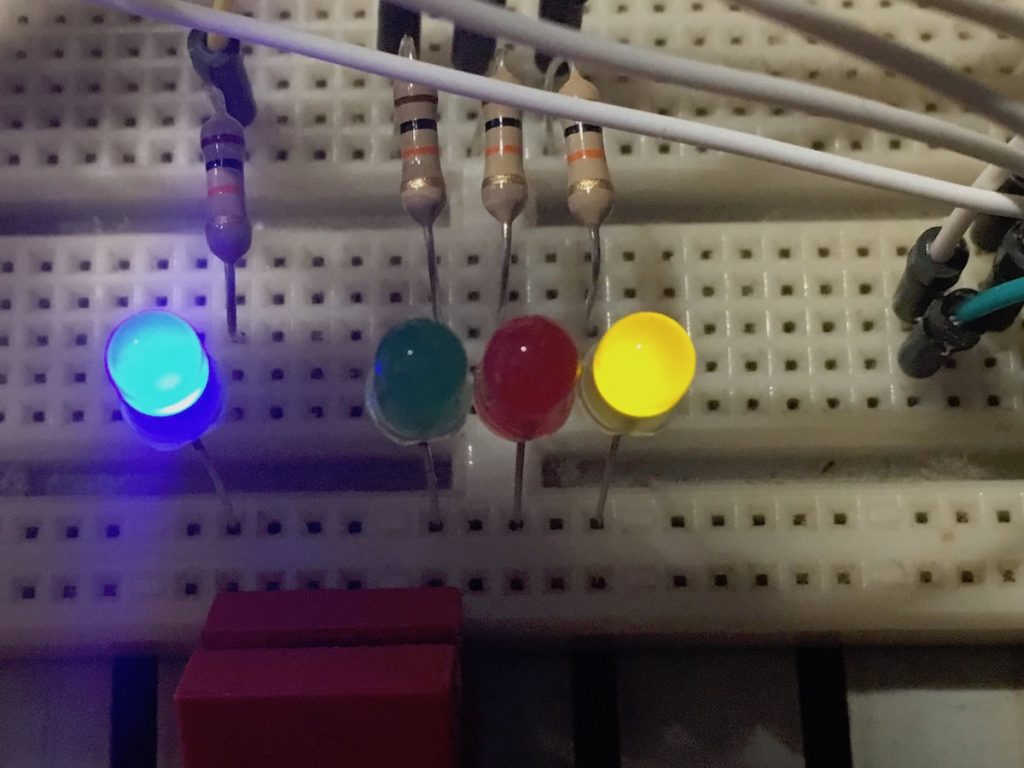
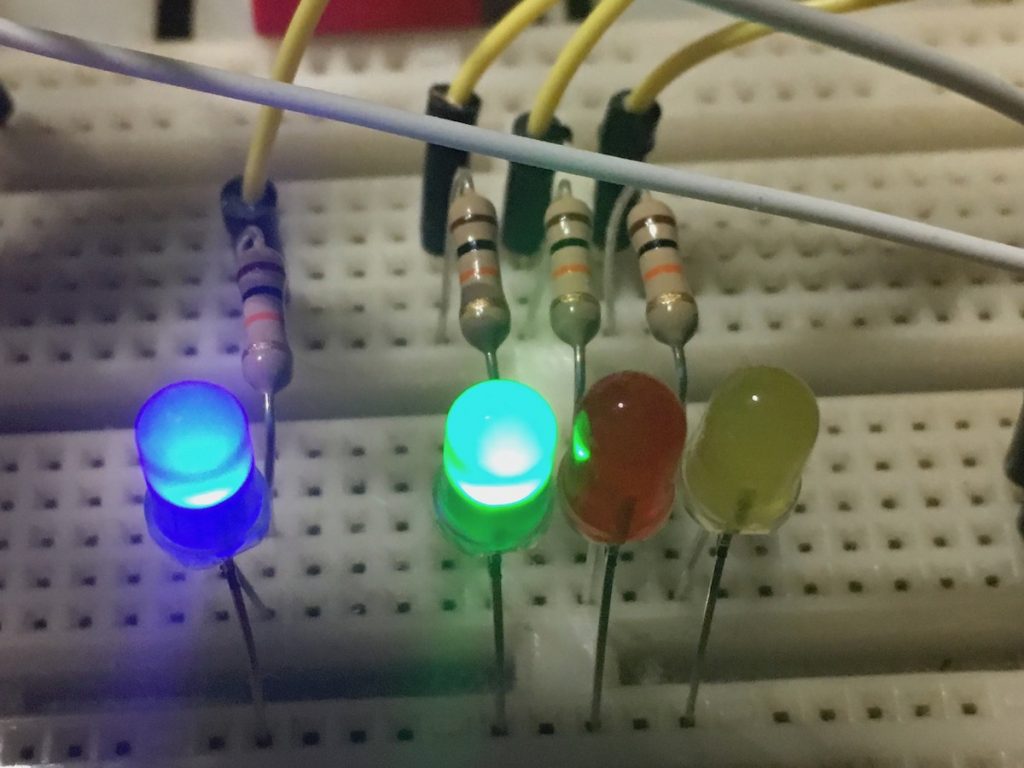
And after it has visited the third floor it’s going down again, yellow LED indicates this
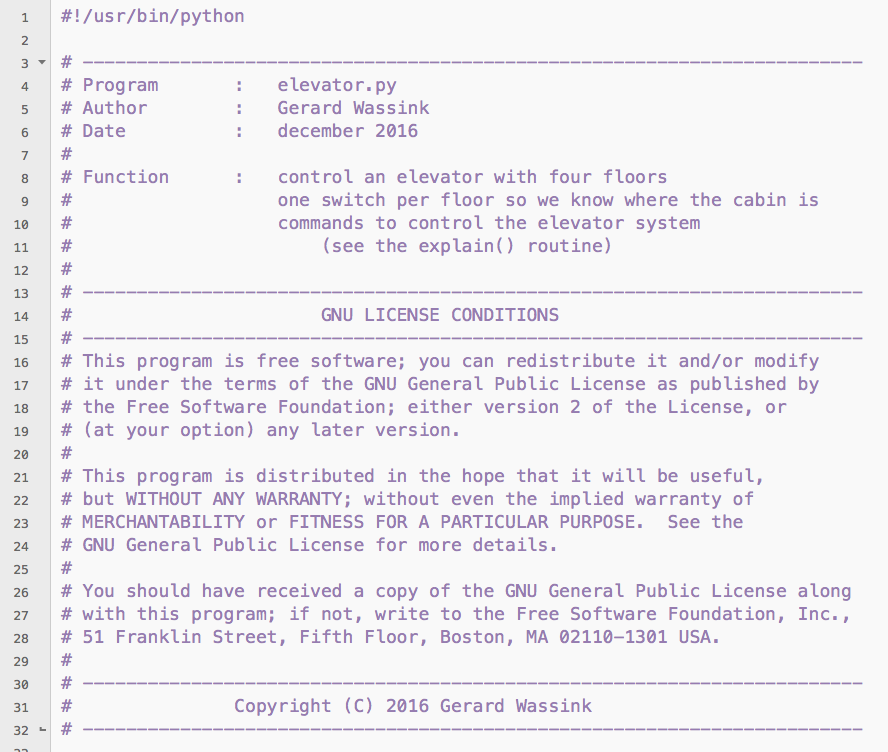
Code published
Today I decided to make my code available on GitHub. When you go there you can see all the code I used. Github is a developers website where you can find large collections of repositories. The non-standard python libraries I used in this project are on there as well.
Addition
I made one little addition to the project: I removed the ‘power-LED’ and added four (blue) LED’s indicating the floor the cabin is at (yes, it’s at the first floor now):
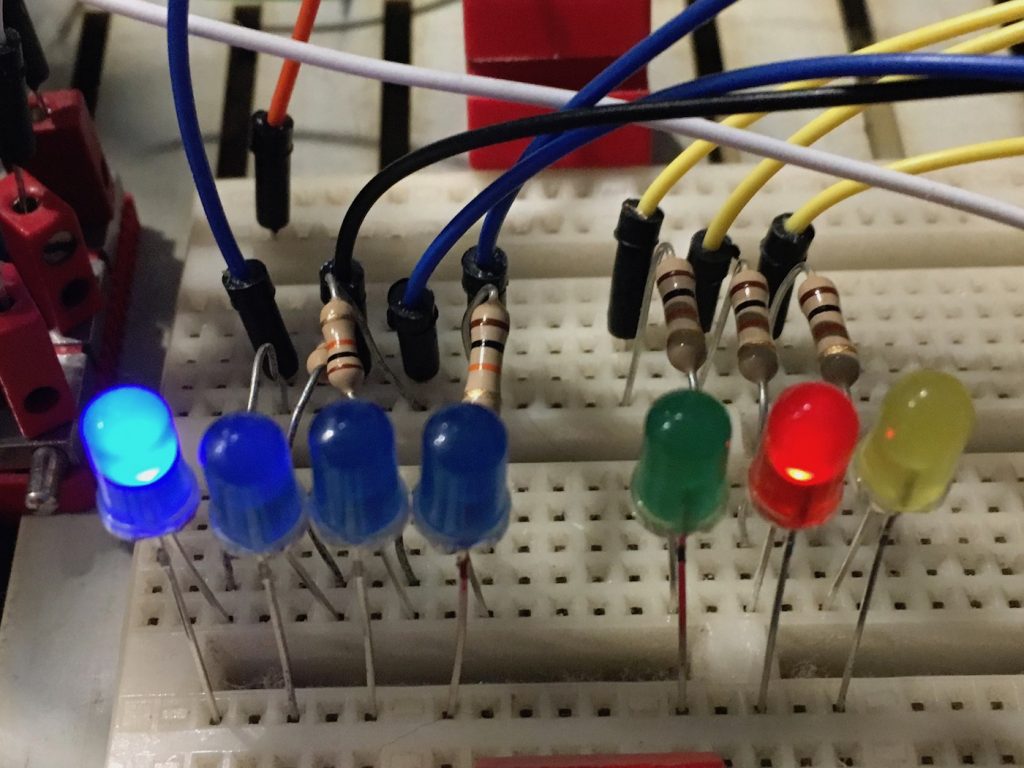
Four blue LED’s indicating the floor the cabin’s at
Future development
I would like to expand on this with other scheduling mechanisms, like STTF (Shortest Trip Time First), SCAN (just go up and down and process every request we encounter for the same direction) and perhaps even more elaborate schemes.
—–===== But for now, I’m happy with how this works! =====—–