
Building my own
I saw a video on YouTube about a resistor box and thought to myself: well, that’s a nice project… So I decided to go and build one. With my local electronics shop, Okaphone, I ordered the parts I needed:
- Resistors of 1% precision:
- 9 x 1 Ω
- 9 x 10 Ω
- 9 x 100 Ω
- 9 x 1K Ω
- 9 x 10K Ω
- 9 x 100K Ω
- 9 x 1M Ω
- 9 x 10M Ω
- 8 x 12 position rotating switches
- 1 Enclosure
Now the building could start. With a little patience I soldered the 72 resistors to the switches. These switches by the way could be restricted in their movement, so I altered them to do only 10 steps, from 0 to 9 in every decade.
Photos
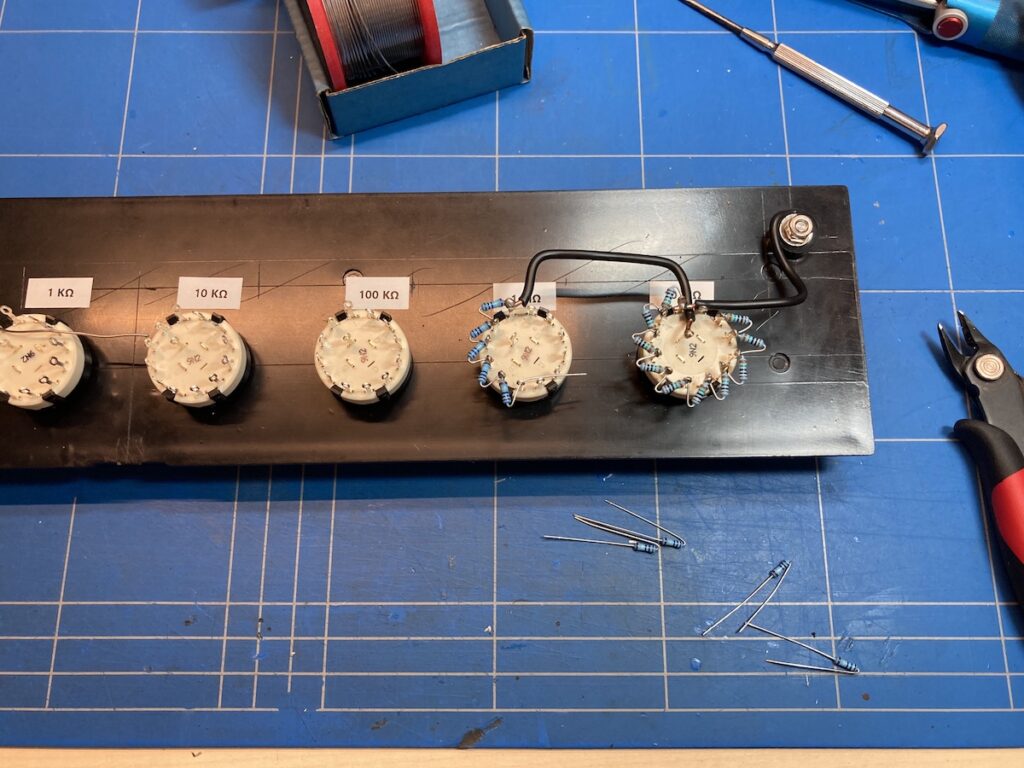
I soldered the first (rightmost) switch the wrong way around and corrected that.
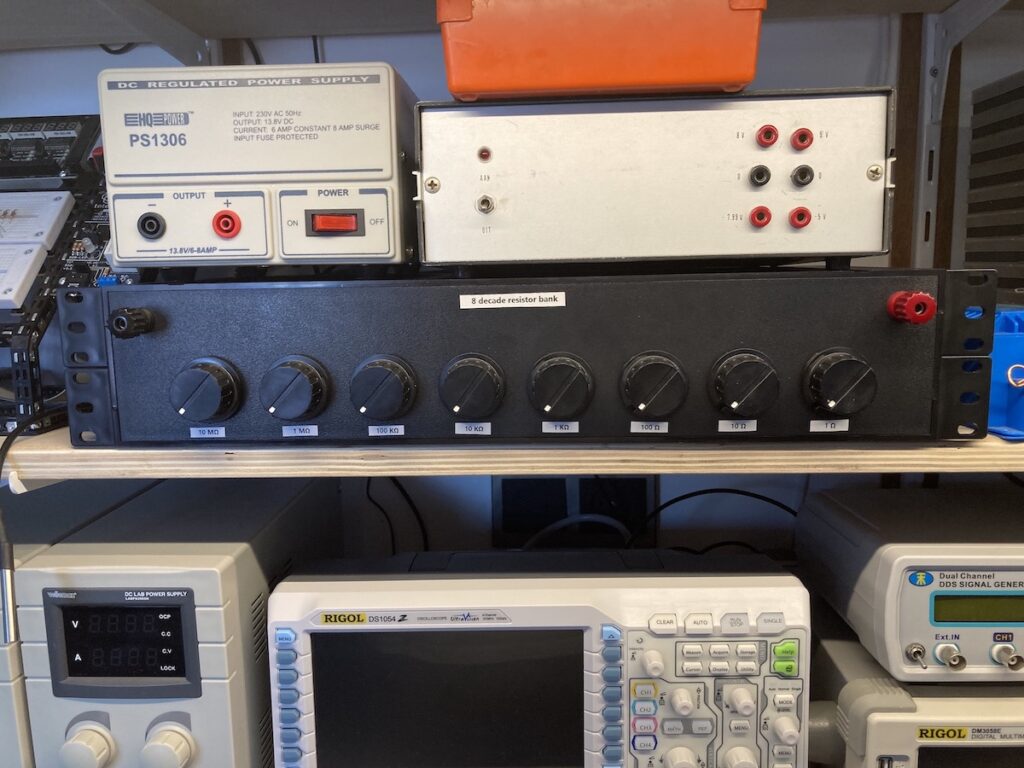
Lets measure.
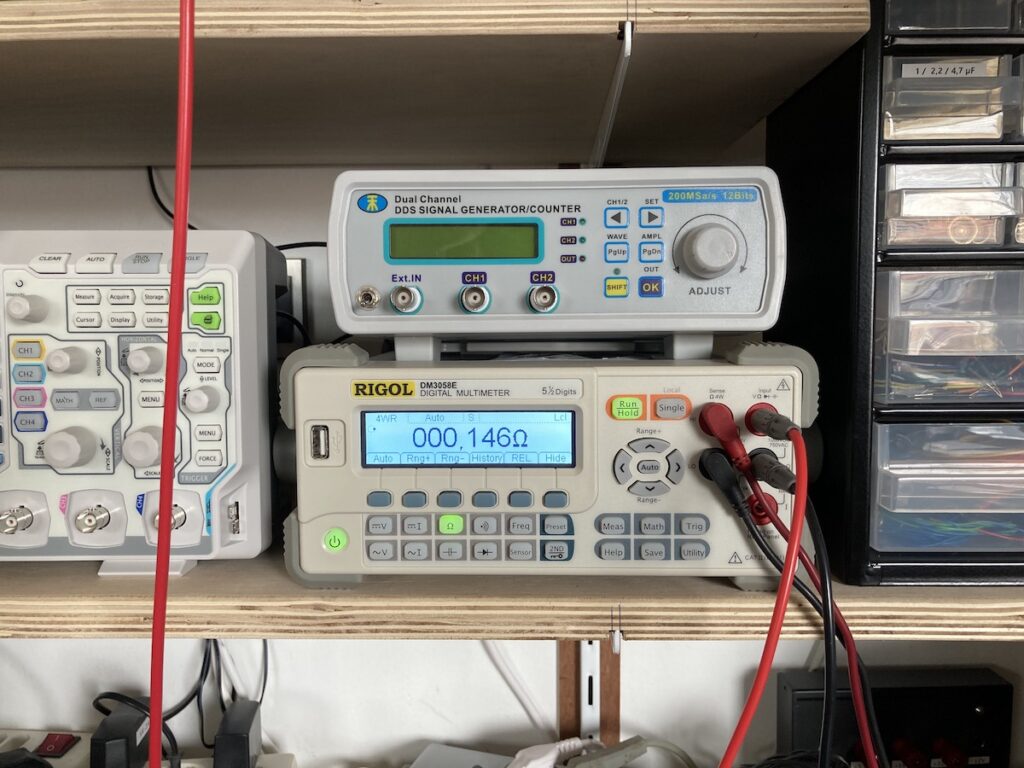
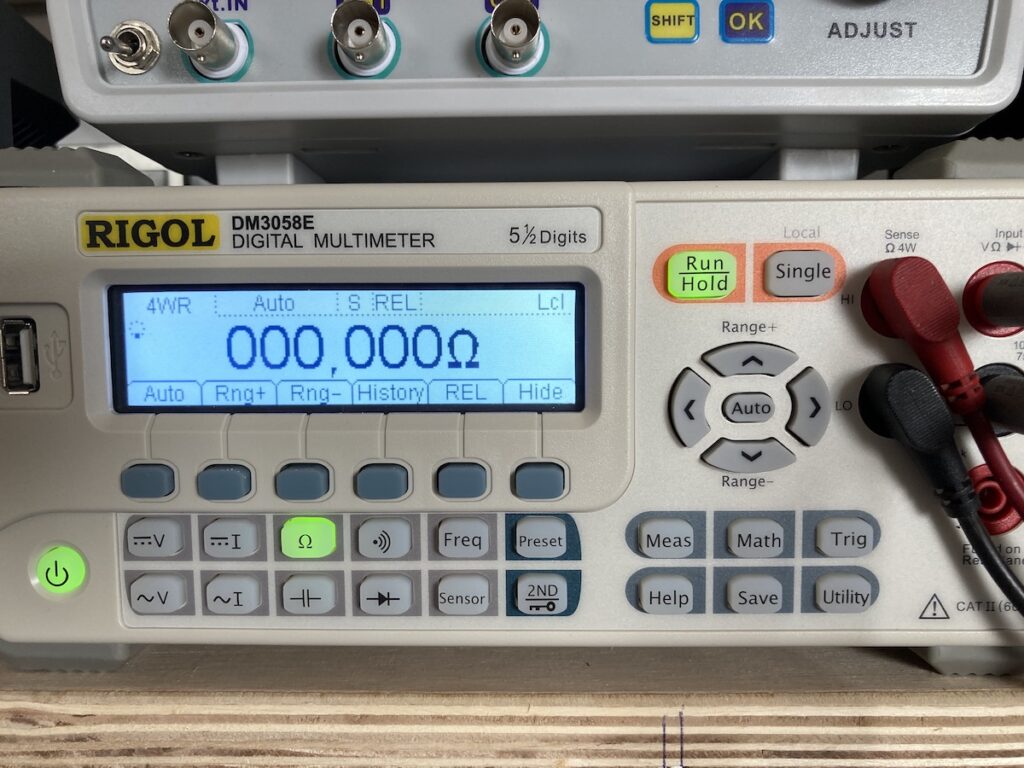
The bench meter fortunately has a ‘REL’ function, which switches to zero at the current resistance value, so all next meetings will be relative to this value.
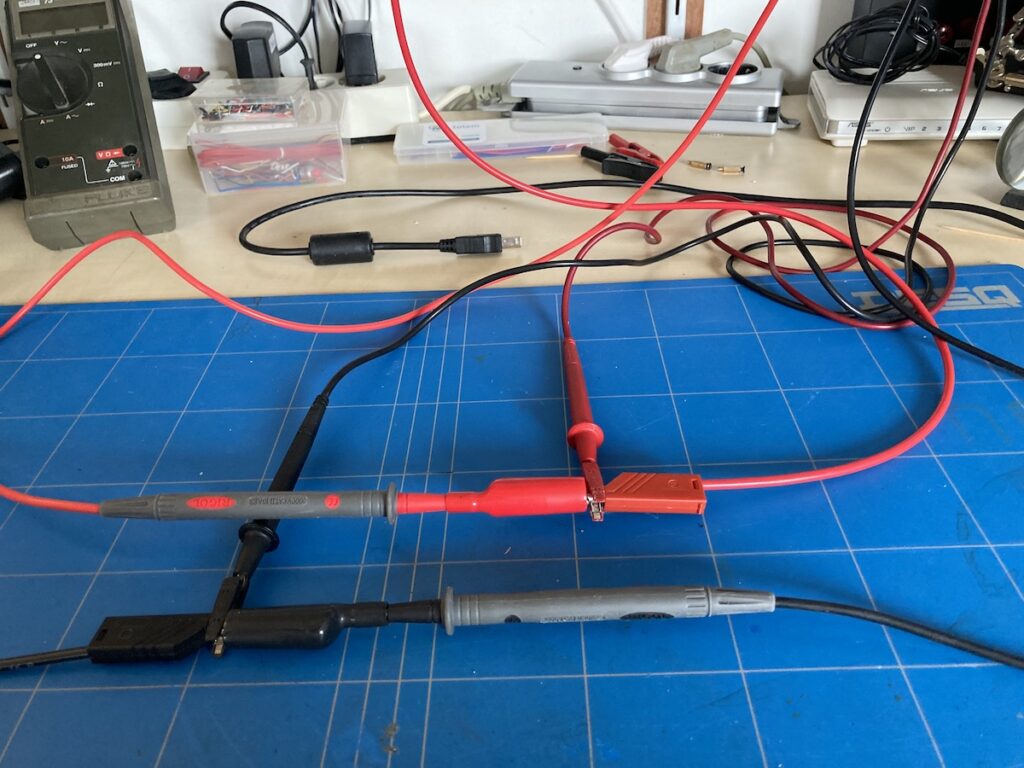
Furthermore, I am using the 4 wire measurement method that eliminates the resistance of the measuring leads. This can be seen below, two wires (with banana plugs) from the decade box, and two red and two black wires to the meter (as seen above).
Results
Now I started the measurement with all switches on the zero Ω position. For every individual decade I jotted down the measured values in an spreadsheet and generated a graph:

As you can see, almost all value deviations over all ranges stay under or around 0,3%. Only the highest decade (0 – 90M Ω) runs up to just over 0,8% deviation. I ascribe that mainly to the lack of digits in the bench multimeter.
Conclusion
It was a fun project to do, with a rather nice result. It’s not necessarily a professional high precision instrument, but you would have to pay top dollar for those.