Intro and basics

In this article I will describe how I set up my Raspberry Pi 4 as a file server. I will assume that your Pi does already have a Raspbian buster installed and that it is accessible thru ssh (if you changed the standard port, be sure you know that port number). You made sure that it has a static ip address, right?
Start
Start, as alway, by updating your system:
sudo apt update
sudo apt upgrade
Security: firewall
First order of business: install a firewall (using ufw here):
sudo apt install ufw
Now configure your firewall, see this link to digitalocean (be sure to allow your ssh port and Samba).
File server, disk sharing: (Samba)
NOTE: this step is not mandatory for your cloud system
As per your choice, you could decide to install samba, a printer and disk sharing server. Later on you can decide whether or not to open these ports on your router. I won’t, because I do not fully trust the smb protocol; I did however install samba to be able to use that on my internal network.
sudo apt install samba samba-common-bin
Allow user pi to have external access thru samba connections:
sudo smbpasswd -a pi
Edit samba config to set up your directory
sudo nano /etc/samba/smb.conf
Add the following lines to the end of that file. Note that I use “calypso” for a directory in /home; your mileage may vary, the directory you want to share may be somewhere else.
#
# Calypso disk share
[calypso_share]
   comment = Calypso shared disk
   path = /home/calypso_share
   writeable = yes
   guest ok = no
   create mask = 0777
Now restart your Samba service:
sudo systemctl restart smbd
Now you can access your shared directory over the network from another computer, by using the following url:
smb://192.168.205
Mind you, this is the static ip address of your raspberry pi
Installing a LAMP stack
Now we are going to make our Raspberry Pi into a proper webserver. We do that by following an excellent article on digitalocean.
Installing Nextcloud
After we installed and tested the various components of our LAMP stack, we will install the Nextcloud package. I used this article from PiMyLifeUp.
Configure Nextcloud
Next, follow the instructions, on screen and from the article, to set up Nextcloud for your site.
Because I have an SSD for my root file system and another one for my /home directory, I opted to place my nextcloud directory at /home/nextcloud, so it’s on the second SSD drive…
I also made a self-signed certificate. Browsers don’t like those, but hey, what can we do when we don’t have our own domain name?
Result
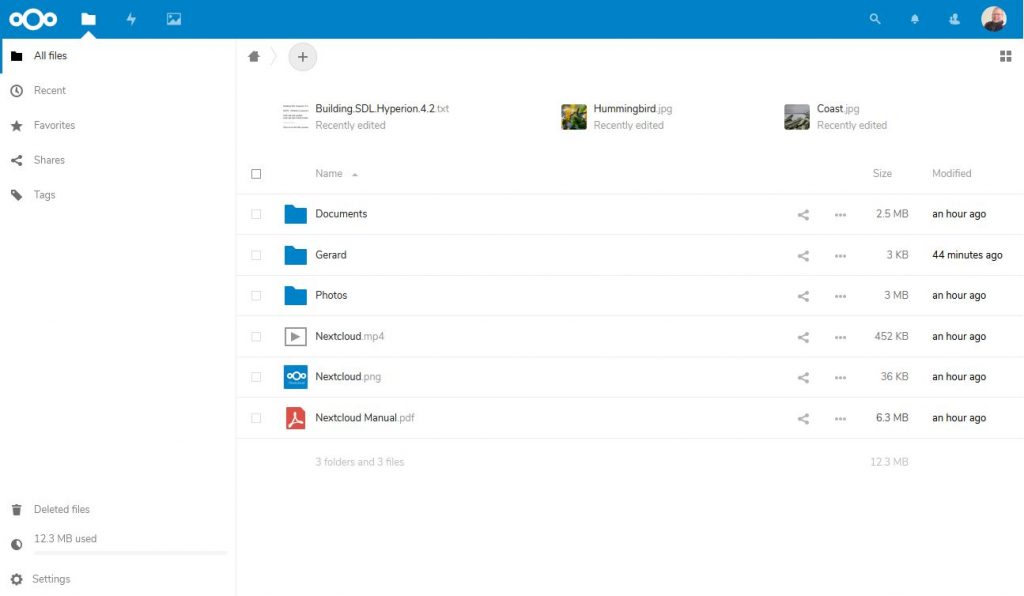
And there we have it, Nextcloud homepage on my RPi 4:

Synchronizing
There are desktop apps available for most platforms that can synchronize directories of your choice with your Nextcloud file system.